Showing posts with label DIY. Show all posts

Tuesday, February 4, 2014

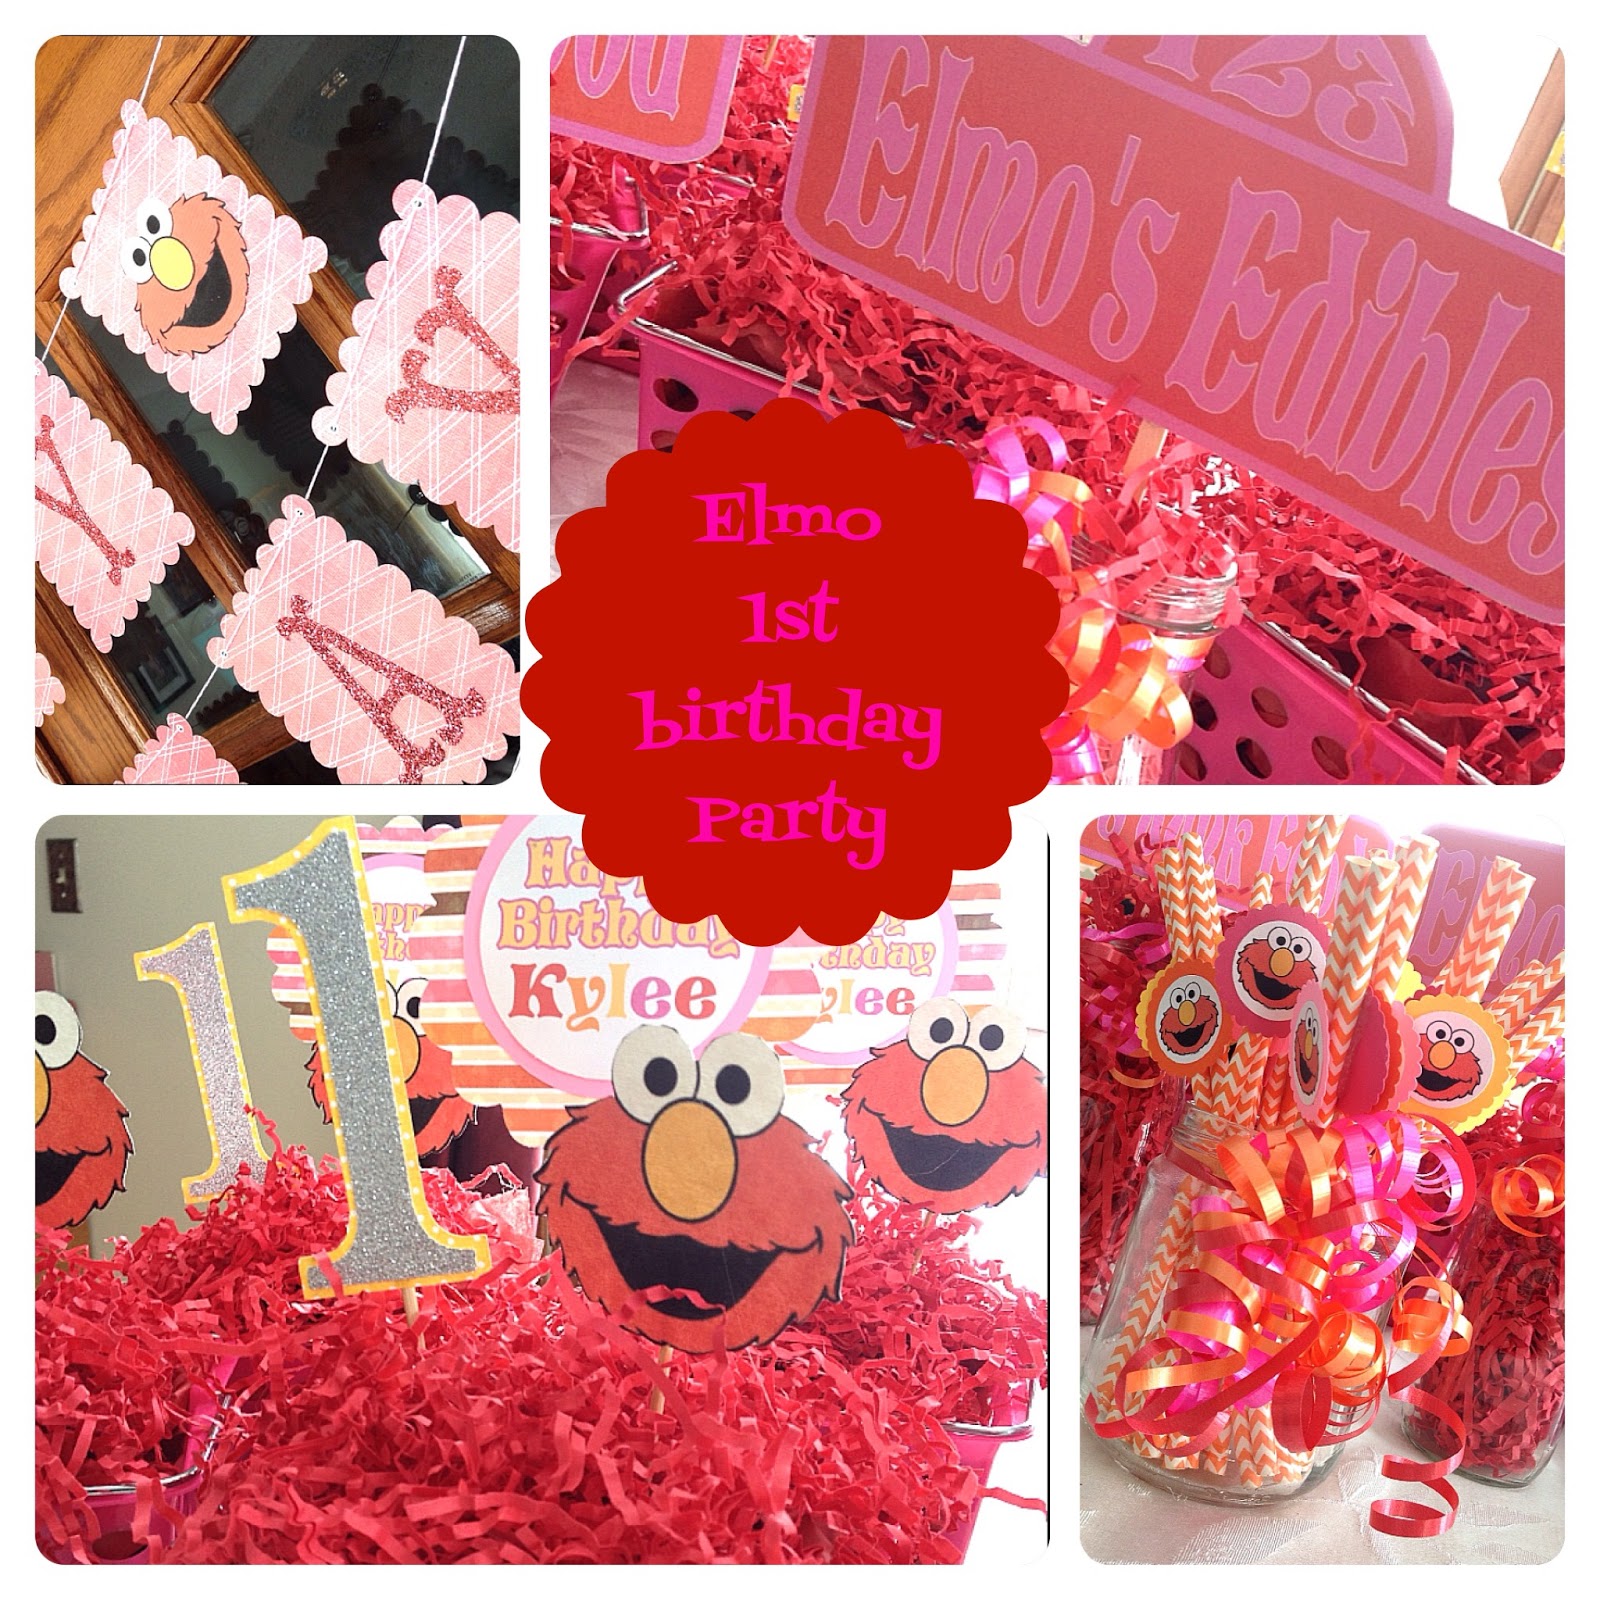
Elmo 1st Birthday Party Decor SNW4

Sometimes it is good to step out of your comfort zone and challenge what you are capable of. 
As a creative, you get to know what your style is and things can start to look very much the same:}


Before I share this project, I want to say that my heart is full of gratitude!
Thank you to all of my family, friends and customers that have had an idea and have entrusted ME to execute that vision.  It truly is an honor to be able to create for a living, but especially when it is something that is created for someone specific.

OK, with that said, this particular request was from my niece for her daughters 1st birthday
{That would make me a great-aunt!! Yikes!!}

She gave me a color palette and a few photos for inspiration. 
If you have followed me for a while, you know that Elmo is not my normal style and was out of my comfort zone!

Challenge accepted

I honestly had a lot of fun creating these items!
I remembered what it was like when my babies were that age.
Life was really so much simpler then. More innocent.

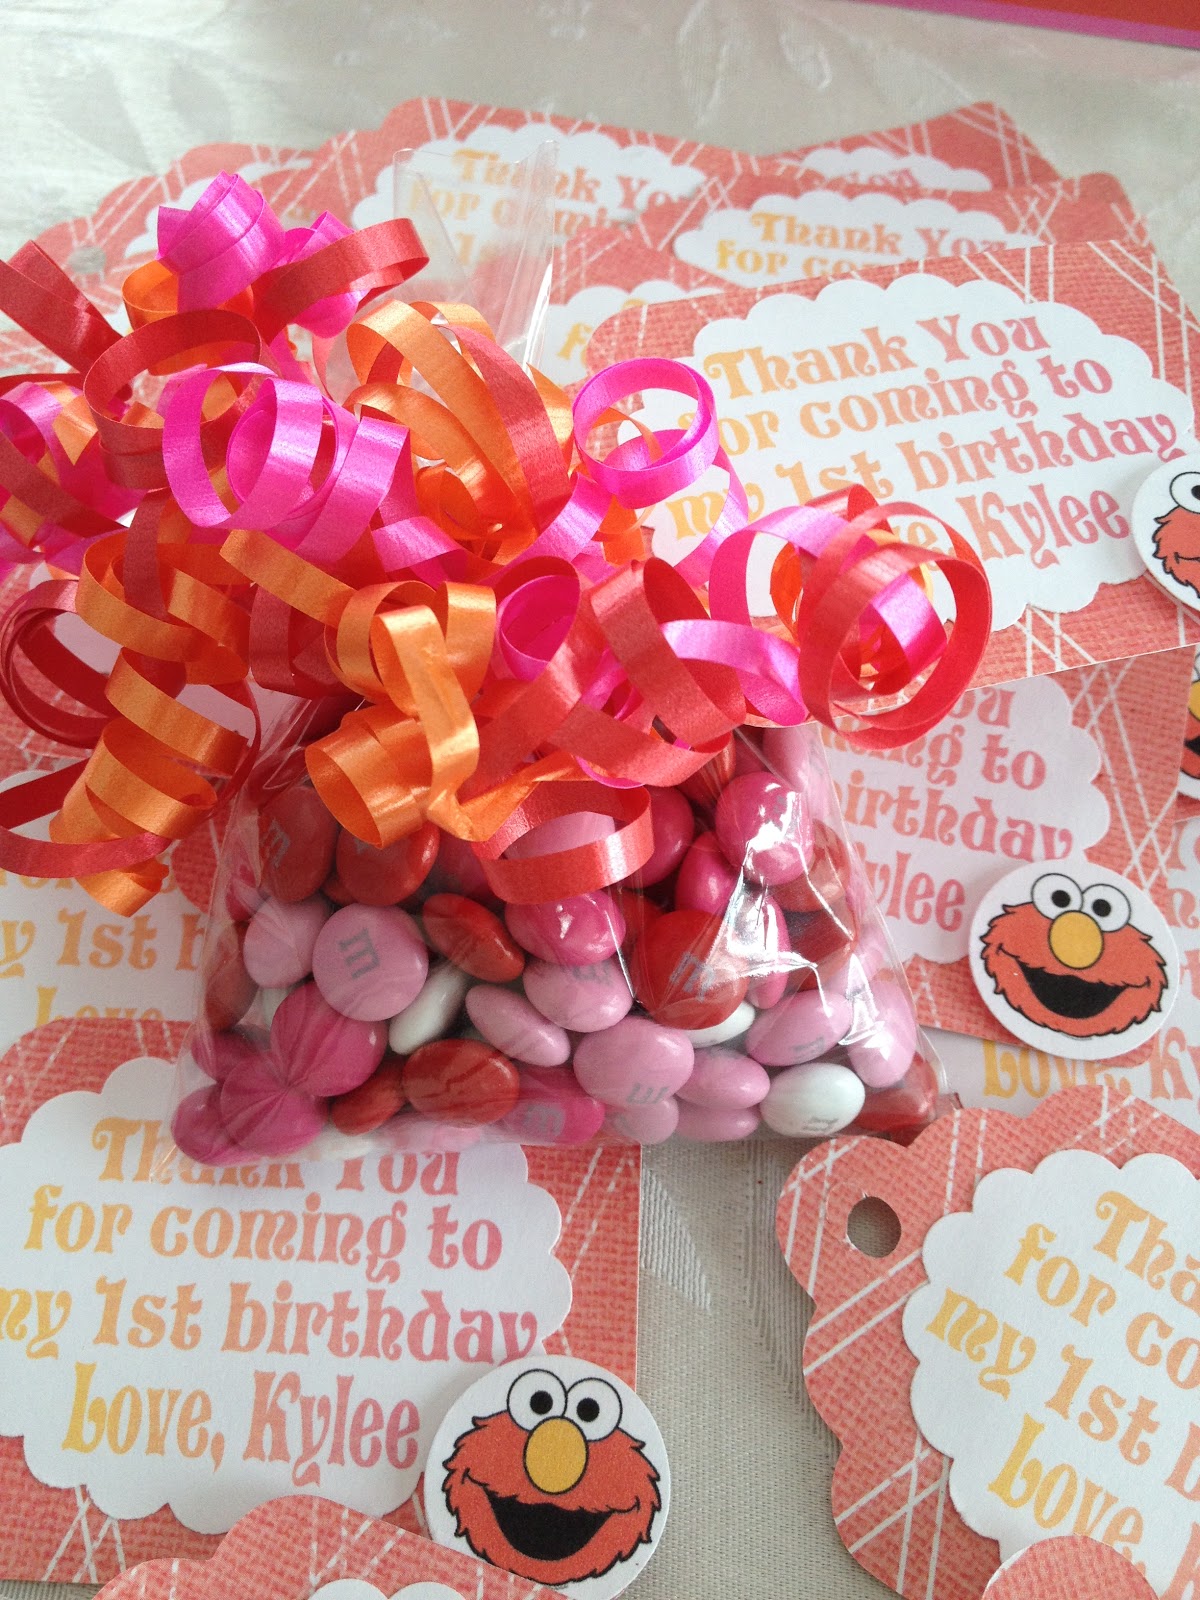
Here are a few photos of what I put together...
{I didn't want to do a tutorial for everything, but if you have questions about a certain project, please feel free to ask. I'd be happy to walk you through it!}


Thanks so much for taking the time to check out my blog!
ENJOY!


Sunday, January 26, 2014

DIY Ruffled "love" banner SNW3

I know not everyone is crazy about Valentine's Day. 
I, on the other hand happen to LOVE it!
I love hearts. I love LOVE! I love a special day to celebrate LOVE!
So when Valentine's Day rolls around, I like to do it up a bit and fill my home with beautiful decorations that exude that lovin feelin;}


For this 3rd week of something new
{and yes, those of you keeping track, I am a few days late getting this post up;/}
I wanted to make something quick, easy and be able to use the things that I had on hand
{isn't that the best feeling!}


Supplies Needed:
12" x 12" Fabric Paper
Ruffled Ribbon
Red Felt
Black Sta-Zon Ink
Foam Stamps
{rubber or acrylic is fine too}
White string
White Eyelets
Eyelet setting tools
Hot glue gun

Directions:
Begin by cutting 4 1/2" x 6" rectangles and 3" x 6" rectangles from the fabric paper.
Using your Sta-zon ink and foam stamps, stamp the letters l o v e onto the 4 larger rectangles.


 From the red felt, cut 2 matching hearts and glue them onto the smaller rectangles with hot glue. 


Then measure and cut the strips of ruffled ribbon and glue them along the tops of the rectangles.  When that is dry, using your eyelet setting tools, punch 1 hole in each of the top corners of each rectangle and set the eyelets in each hole. Finally, string the white string through the holes and hang!


I would love to see your projects for the week! 
Please feel free to link up below and share your masterpiece!


Thursday, January 16, 2014

DIY Hand-Stamped Metal and Leather Cuff SNW2

I LOVE words!
{You've probably heard me say this a millions times;}
They have amazing power! 
I'm choosing to focus on the ones that build up and not tear down!


So it only made sense for week 2 to put together a piece of jewelry with beautiful words that inspire!
 
This is one of those projects that is pretty inexpensive and simple if you have or can borrow the tools needed!

This is what you'll need:


SUPPLIES
Leather Cuff
Metal Stamping Blanks
Metal Stamps
Stamping Block
Hammer
Eyelets
Eyelet Setter
Crop-a-dile big bite{or other heavy duty hole punch}
Permanent Marker {optional}
Distress Ink {optional}
 
Instructions
I wasn't crazy about the lighter cuff, so I began with distressing the front and sides using Tim Holtz Tea Dye {Note: I did try tea staining first and did not get the results that I wanted} I allowed that to dry overnight.  I chose the stamping blank that was the best fit for this size cuff and using my crop-a-dile big bite, punched holes in the 2 sides then set it on top of the cuff, marked the holes and punched coordinating holes in the cuff.  I then began in the middle of the stamping blank and began stamping {once you figure out your wording, find the center word and begin there} This next step is optional.  If you like the raw stamped look, leave it as is.  If you like a little more pop, color in the letters with a permanent marker then rub over the blank with a magic eraser. It will remove any extra ink left on the blank but the ink in the letters will remain.  Finally, place coordinating eyelets in the holes of the lined up metal and cuff, flip over and using your eyelet setter, hit 3 times to set!  voila! You have a fabulous new, conversation-starter piece of Jewelry!!


Thanks so much for joining me for this tutorial! 
Happy Creating!


Wednesday, October 31, 2012

HaLlOwEeN


I am going to be super honest here... Halloween is probably my least favorite holiday!  There, I said it!
It has nothing to do with my religious beliefs or anything, I am simply just not a big fan.  I LOVE the fall and I LOVE to decorate for fall... just not usually Halloween in particular.  
I love pretty, sparkly, happy decorations, not morbid, bloody and creepy ones.
Of course, like any other self-respecting parent, I love to see my children enjoying themselves so we always dress up and trick or treat, but I typically don't put up any "Halloween specific" decor.  
For the past few years, the kiddos have been pleading with me to put up Halloween decorations, so I finally gave in... if you are a lover of Halloween, you will think this is lame, but this was my contribution to the holiday!  

{don't you see those creepy spiders crawling up my spider-webbed mantle:}}

HaPpY hAlLoWeEn

There is a good chance that these will be down tomorrow and some lovely "fall" pretties will take their place:}

Saturday, September 1, 2012

DIY Up-cycled Key Necklace ON THE CHEAP

Ok, I admit... I am a little obsessive when it comes to finding a way to make something super fabulous while spending the very least amount of money possible.
I mean, come on, times are tough right now for everyone, but we still want to be gorgeous and wear pretty little things, right?
So, we have this metal candle holder in one of our kitchen cabinets that is filled with old keys.  Keys from previous cars and who knows what else!  So my wheels were turning.  They are such a cool piece of metal, they shouldn't just be quarantined to a key ring {or tin in a cabinet!}.  They should be given some extra attention.  A little pizazz, if you will.  
That's just what I decided to do.  I picked a few of them that I thought had some pretty cool character {and that I knew were no longer functional for us} and I brought them back to life!

Supplies you'll need:
{feel free to be creative and add your own personal touches!}

*Key
*Metal Stamp Set
*Glue 
*Glitter
*Clear Nail Polish {or another sealer}
*Old earring or button
*Wire cutters
*Chain
*Clasp

I loved that this particular key had the perfect blank space for some text, so I started by adding "Be You" with my metal stamp set.  Now if you like simple, this would be a fine place to stop, but I am a girl that loves some sparkle so I really needed to keep going.  I added some glue around the text {I love the Martha Stewart Permanent Glue}, covering the remainder of the key.  Then I added some blush glitter {again, using Martha Stewart }  I waited for that to set and coated it with clear nail polish.  Like I said, I was going with what I had on hand to make it a "no-cost" project, but you could also use another form of sealing medium over the glitter to see that it did not come off on your clothing.  Finally, I added an old spare earring to the corner {use wire cutters to remove the post from the earring first} and Voila!  I simply added some chain with a toggle clasp and I had a brand new sparkling accessory!


Do you have any fun, inexpensive DIY projects that you'd like to share?  
I would love to hear about them!
